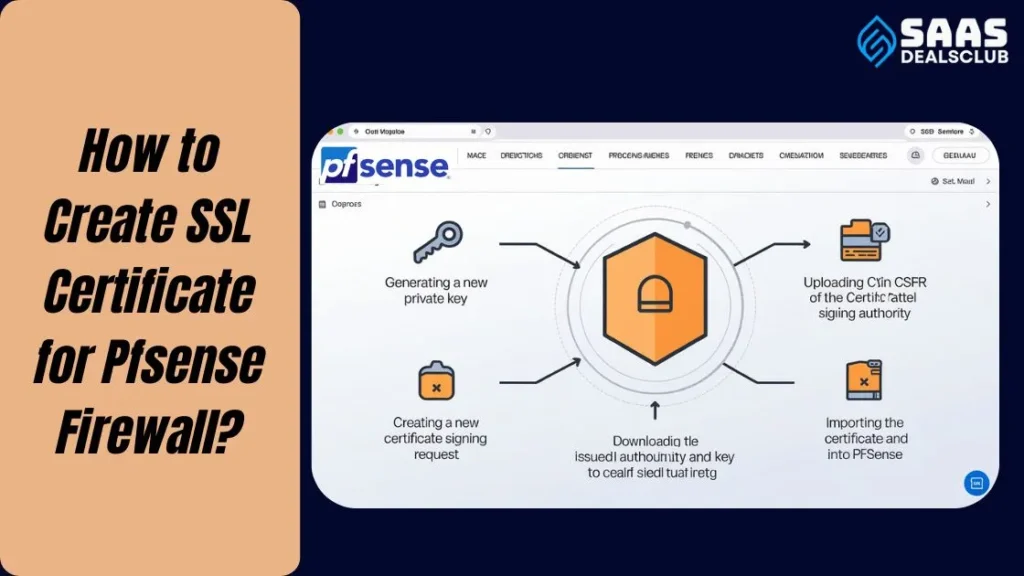
Creating an SSL certificate for your Pfsense firewall can seem complex. But it’s essential for securing your network.
An SSL certificate ensures secure communication between your server and clients. For Pfsense users, this is a crucial step in protecting your network from cyber threats. In this guide, we’ll break down the process into simple steps. You’ll learn how to create and install an SSL certificate for your Pfsense firewall.
Whether you’re a beginner or have some experience, our guide will help you enhance your network security with ease. Stay with us as we explore each step in detail, ensuring your Pfsense firewall is secure and reliable.

Table of Contents
TogglePrerequisites
Before creating an SSL certificate for your pfSense firewall, certain prerequisites must be met. Ensuring you have the right tools and that your system meets the necessary requirements will make the process smoother. Let’s dive into what you need.
Necessary Tools
To create an SSL certificate for pfSense, you need a few essential tools. First, ensure you have a pfSense firewall installed. You will also need access to the pfSense web interface. This interface helps in managing and configuring the firewall settings.
Additionally, a reliable internet connection is crucial. This will allow you to download any required packages and updates.
System Requirements
Your system must meet specific requirements. Ensure your pfSense firewall is running on an updated version. Older versions may lack the necessary features. Your hardware should be capable of handling the firewall operations. It should have enough CPU power and memory. This ensures smooth performance without lag.
Ensure your system’s time and date settings are correct. Incorrect settings can cause issues with SSL certificates. Verify that your system has sufficient storage space. This is important for saving the SSL certificates and any related files.
Accessing Pfsense Dashboard

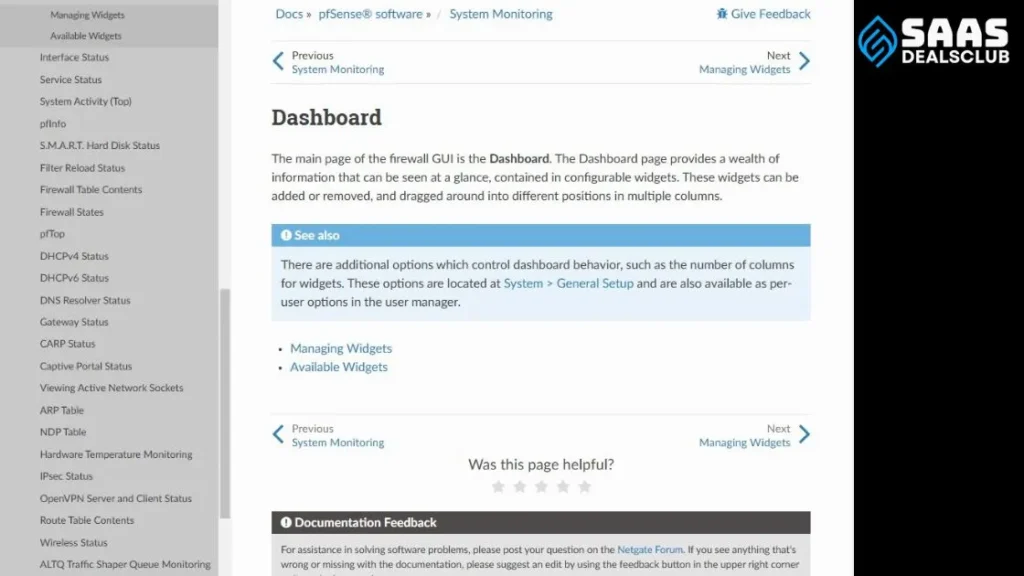
To create an SSL certificate for your Pfsense firewall, first, access the Pfsense dashboard. This dashboard is the control center for all firewall configurations.
Below, we will guide you through the steps to access the dashboard and navigate to the Certificate Manager.
Login Procedure
- Open your web browser.
- Enter the Pfsense IP address in the address bar
- Press Enter.
- You will see the Pfsense login screen.
- Enter your username and password.
- Click Login.
Now you are in the Pfsense dashboard. Ensure you have admin rights to proceed further.
Navigate To Certificate Manager
- In the Pfsense dashboard, look for the System menu.
- Click on Cert. Manager.
- You will be directed to the Certificate Manager page.
From here, you can manage existing certificates or create a new SSL certificate. This section includes options for CAs, Certificates, and Revocation.
To create a new SSL certificate, you will use the Certificates tab in the Certificate Manager. This tab provides all the tools needed to generate and manage your certificates.
Creating A Certificate Authority

Creating a Certificate Authority (CA) is essential for setting up SSL certificates in a pfSense firewall. The CA acts as a trusted entity to issue and manage digital certificates.
Let’s dive into the steps to create a Certificate Authority in pfSense.
Configuring Ca Settings
First, navigate to System > Cert Manager in the pfSense interface.
Click on the Add button to create a new CA. Fill in the required fields as follows:
- Descriptive Name: Enter a name for your CA.
- Method: Select Create an Internal Certificate Authority.
- Key Length: Choose 2048 bits or higher.
- Digest Algorithm: Select SHA256 or higher.
In the Distinguished Name section, provide the following details:
- Country Code: Enter your country code (e.g., US).
- State or Province: Type your state or province.
- City: Enter your city name.
- Organization: Provide your organization name.
- Organizational Unit: Optionally, specify a unit name.
- Common Name: Enter a unique name for your CA.
- Email Address: Provide a valid email address.
Saving The Certificate Authority
After filling in all the required fields, click the Save button. Your new Certificate Authority will appear in the list. The CA is now ready to issue certificates.
This CA will allow you to generate SSL certificates for securing your pfSense firewall and connected devices. Follow these steps carefully to ensure your SSL certificates are trusted and secure.
Generating A Server Certificate
Generate a server certificate by creating an SSL certificate for your Pfsense firewall. Follow easy steps to secure your network and protect your data. Ensure a safe browsing experience with this essential firewall feature.
Creating an SSL certificate for your pfSense firewall is essential. It ensures secure communication between your devices and the firewall. In this section, we will guide you through generating a server certificate.
Certificate Attributes
First, navigate to the Certificate Manager in pfSense. Click on the “Certificates” tab. Then, click on the “+ Add/Sign” button to create a new certificate. For the “Descriptive Name,” enter a unique name for your certificate. This will help you identify it later.
Choose “Create an internal certificate” from the “Method” dropdown. This will generate a certificate that pfSense can use internally.
Next, fill in the “Distinguished name” fields. These include the “Common Name,” “Organization,” and “Organizational Unit.” Make sure these details accurately reflect your network. Set the “Key length” to 2048 bits for strong encryption. Choose “SHA-256” as the “Digest Algorithm” for secure hashing.
Exporting The Certificate
After filling in the certificate attributes, click “Save” to generate the certificate. You will see your new certificate listed in the Certificate Manager. To export the certificate, click on the “Export” button next to your new certificate. This will download the certificate file to your computer.
You can now use this file to configure your devices. Ensure secure communication by installing the certificate on all devices that connect to your pfSense firewall. That’s it! You have successfully generated and exported a server certificate for your pfSense firewall.
Installing The SSL Certificate

After creating your SSL certificate, the next important step is installing it on your pfSense firewall. This process ensures that your network communications are secure.
Let’s walk through the steps needed to upload and apply your SSL certificate.
Uploading The Certificate
First, access your pfSense dashboard. Navigate to System > Cert Manager. Select the Certificates tab.
Click on the Add/Sign button. A new form will appear.
Fill in the form with the following details:
- Descriptive Name: Name your certificate for easy identification.
- Method: Select Import an existing certificate.
Upload your certificate files:
- Certificate Data: Paste your certificate content here.
- Certificate Private Key: Paste your private key content here.
Click on Save to upload the certificate.
Applying The Certificate
Now, it’s time to apply the certificate to your services.
Navigate to System > Advanced > Admin Access.
Under the SSL/TLS Certificate section, select the certificate you uploaded from the dropdown list.
Click on Save to apply for the certificate.
Restart the webConfigurator for changes to take effect. Navigate to Diagnostics > Reboot and click Yes.
After rebooting, access your pfSense dashboard using HTTPS.
If everything is correct, your browser will show a secure connection. This confirms that the SSL certificate is correctly installed and applied.
By securing your pfSense firewall with an SSL certificate, you enhance the security and privacy of your network.
Configuring Pfsense To Use Ssl
Configuring pfSense to use SSL enhances security by encrypting data between your browser and the firewall. This ensures that sensitive information is protected from unauthorized access.
Below, we’ll walk through how to set up HTTPS and test the configuration to ensure everything works properly.
Setting Up HTTPS
To set up HTTPS on pfSense, follow these steps:
- Access the pfSense Dashboard: Open your web browser and log in to the pfSense admin interface.
- Navigate to the Certificate Manager: Go to
System > Cert Manager. - Create a New Certificate: Click on the Certificates tab and then click Add/Sign.
- Fill in Certificate Details: Enter the required information, such as the Descriptive name, Method, and Key length.
- Save the Certificate: After filling in the details, click Save.
- Assign the Certificate: Go to
System > Advanced > Admin Accessand select the new certificate under the SSL Certificate drop-down menu. - Enable HTTPS: Check the box for WebGUI redirect to HTTPS and click Save.
Testing The Configuration
After setting up HTTPS, it’s important to test the configuration to ensure it’s working correctly.
- Access the WebGUI: Open your web browser and enter the pfSense IP address using
https://. - Check the Certificate: Ensure that the browser shows a secure connection and displays the correct certificate.
- Verify Functionality: Log in to the pfSense admin interface and navigate through the menus to confirm everything is accessible.
- Check for Errors: Look for any error messages or warnings in the pfSense dashboard and address them if needed.
By following these steps, you can successfully configure pfSense to use SSL and secure your firewall’s web interface. This simple change significantly enhances the security of your network.
Troubleshooting Common Issues

Setting up an SSL certificate for your pfsense firewall can be tricky. Sometimes, issues arise that can halt your progress. This section will guide you through common problems and their solutions. Read on to troubleshoot and fix those pesky issues.
Certificate Errors
Certificate errors often occur due to incorrect settings. Ensure your certificate matches the domain you are securing. Mismatched certificates cause browsers to show warnings.
Double-check your settings in the pfsense interface. Verify the certificate’s expiration date. An expired certificate will not work properly. Renew your certificate if it has expired.
Connection Problems
Connection problems can occur if the firewall rules are misconfigured. Check your firewall rules to ensure SSL traffic is allowed. Incorrect rules can block SSL connections.
Also, inspect your network settings. Ensure the server is reachable from your network. If the server is down, the SSL connection will fail. Restart your pfsense firewall if needed. Sometimes, a simple reboot fixes connection issues.
Frequently Asked Questions
How Do I Create An Ssl Certificate In Pfsense?
To create an SSL certificate in pfSense, navigate to the Certificate Manager. Choose ‘Add’ to create a new certificate. Fill in the required details and save.
What Are The Steps For Ssl Certificate Setup?
First, access the Certificate Manager. Next, generate a new certificate. Then, configure the certificate settings. Finally, apply the certificate to your services.
Why Use Ssl Certificates In Pfsense?
Using SSL certificates in pfSense ensures secure communication. It encrypts data between your devices and the firewall, enhancing security.
Can I Use Let’s Encrypt With Pfsense?
Yes, you can use Let’s Encrypt with pfSense. Install the ACME package, configure it, and request a certificate. Follow the setup instructions.
Conclusion
Creating an SSL certificate for your pfSense firewall boosts security. It’s essential for protecting data and ensuring privacy. Follow the steps outlined to configure your SSL certificate. This will help keep your network safe from threats. Remember to regularly update your certificates.
This ensures ongoing protection. With these tips, you can maintain a secure and efficient firewall. Happy configuring!

