Add Continue Shopping button to your WooCommerce cart page can enhance user experience. It encourages customers to keep shopping, increasing sales.

In this guide, you’ll learn how to add this feature to your WooCommerce store. A “Continue Shopping” button helps users easily return to your product catalog. It makes navigation simpler and enhances the shopping journey. By following a few steps, you can improve your cart page and potentially boost your sales.
Whether you’re a beginner or an experienced WooCommerce user, this tutorial will provide clear instructions. Let’s dive in and make your WooCommerce cart page more user-friendly!
“The ‘Continue Shopping’ button might seem like an ordinary button but it can greatly help you improve conversion and boost your e-commerce sales. This type of button is used to show the users that they have already placed their previous order and therefore they can continue shopping without having any effect on their current cart or to have to go through the purchasing process again.”
Table of Contents
TogglePrerequisites
To add a Continue Shopping button to your WooCommerce cart page, you need to fulfill a few prerequisites. These requirements ensure that you can make the necessary changes without issues. Let’s dive into what you need before starting.
WordPress Installation

First and foremost, you need a WordPress installation. Ensure that your WordPress setup is functional and updated to the latest version. WordPress is the foundation for WooCommerce, so it must work well.
Follow these steps to check your WordPress installation:
- Log in to your WordPress Admin Dashboard.
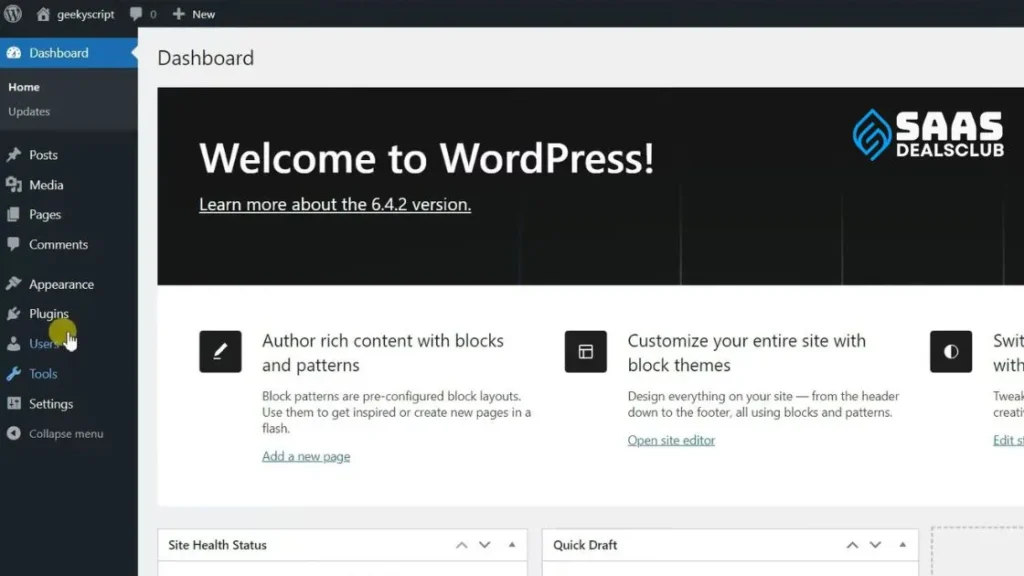
- Navigate to Dashboard > Updates.
- Check for any available updates and apply them.
Woocommerce Plugin
The next prerequisite is the WooCommerce plugin. This plugin transforms your WordPress site into a powerful e-commerce store. Make sure WooCommerce is installed and activated.
Here’s how to check your WooCommerce plugin:
- Go to the WordPress Admin Dashboard.
- Click on Plugins > Installed Plugins.
- Look for WooCommerce in the list.
- Ensure it’s active and updated to the latest version.
If WooCommerce is not installed, follow these steps to install it:
- Navigate to Plugins > Add New.
- Search for WooCommerce in the search bar.
- Click Install Now and then Activate.
With these prerequisites in place, you’re ready to add the Continue Shopping button to your WooCommerce cart page.
Locate Cart Page Template

To add a “Continue Shopping” button to the WooCommerce cart page, you need to locate the cart page template. This process involves accessing theme files and finding the cart template. Follow the steps below to ensure a smooth process.
Accessing Theme Files
First, access your theme files. You can do this through the WordPress dashboard or using an FTP client.
- Go to your WordPress dashboard.
- Navigate to Appearance > Theme Editor.
- Select your active theme from the top-right dropdown menu.
If you prefer using an FTP client, connect to your website server and navigate to the wp-content/themes/your-theme directory.
Finding Cart Template
Now, you need to locate the cart template file. This file is usually found in the WooCommerce plugin folder.
- In the theme editor, look for the folder named woocommerce.
- Open the templates subfolder.
- Locate the file named cart.php.
If you are using an FTP client, navigate to wp-content/plugins/woocommerce/templates/cart/cart.php.
Once you have located the cart.php file, you can customize it to add the “Continue Shopping” button.
Add Button Html
Adding a “Continue Shopping” button to your WooCommerce cart page can enhance user experience. It allows customers to easily return to your products and continue shopping. This section will guide you on how to add the button HTML to your WooCommerce cart page.
Inserting Button Code
First, you need to add the HTML code for the button. Open your WooCommerce cart template. Insert the following HTML code:
Continue ShoppingReplace “shop_url” with the actual URL of your shop page. This code creates a button with the text “Continue Shopping”.
Placement In Cart Template
Next, you need to decide where to place the button in the cart template. You can add it before or after the cart table. Open the cart.php file in your theme’s WooCommerce folder. Look for the appropriate place to insert the code.
A common location is after the cart table:
php do_action( 'woocommerce_after_cart_table' ); ?
Continue Shopping
This placement ensures the button appears after the cart items. You can also choose other locations based on your design preference.
Style The Button
Adding a Continue Shopping Button to the WooCommerce cart page is essential. It enhances the user experience by allowing customers to continue shopping without navigating back manually.
Once the button is in place, the next step is to style it. Styling the button ensures it matches your site’s design, making it more visually appealing and user-friendly.
Adding CSS
First, you need to add custom CSS to style the button. You can do this by adding the CSS code to your theme’s style.css file or through the WordPress Customizer.
Here is an example of the CSS code:
.continue-shopping-button {
    background-color: #0073aa;
    color: white;
    padding: 10px 20px;
    border-radius: 5px;
    text-decoration: none;
    display: inline-block;
    margin: 10px 0;
}
.continue-shopping-button:hover {
    background-color: #005177;
}
This code changes the button’s background color, text color, padding, and other properties. The hover effect makes the button interactive when users hover over it.
Customizing Appearance
Customizing the button’s appearance further can help it stand out.
Here are a few tips:
- Font Size: Adjust the font size to make the text more readable.
- Border: Add a border to give the button a distinct look.
- Shadow: Use box shadow to add depth to the button.
Here is an example of customized CSS code:
.continue-shopping-button {
    background-color: #28a745;
    color: #fff;
    padding: 12px 25px;
    border: 2px solid #1e7e34;
    border-radius: 8px;
    font-size: 16px;
    text-align: center;
    text-decoration: none;
    box-shadow: 2px 2px 5px rgba(0, 0, 0, 0.1);
    margin: 15px 0;
}
.continue-shopping-button:hover {
    background-color: #218838;
    border-color: #1e7e34;
    box-shadow: 2px 2px 8px rgba(0, 0, 0, 0.2);
}
By following these steps, you can create a visually appealing and functional Continue Shopping Button for your WooCommerce cart page. This enhances your site’s usability and encourages customers to shop more.
Add Button Functionality
Adding a Continue Shopping Button to your WooCommerce cart page can enhance the user experience. It allows customers to easily return to your shop page. This feature helps in increasing the average order value and reduces cart abandonment rates.
Link To Shop Page
The first step is to add a button that links to the shop page. You can do this by editing your theme’s functions.php file.
Add the following code snippet:
function add_continue_shopping_button() {
    $shop_page_url = get_permalink( woocommerce_get_page_id( 'shop' ) );
    echo 'Continue Shopping';
}
add_action( 'woocommerce_cart_actions', 'add_continue_shopping_button' );
This code creates a button on the cart page that links directly to your shop page.
Javascript For Dynamic Behavior
To enhance the functionality, you can add some JavaScript. This will make the button dynamic and improve user interaction.
Insert the following script in your theme’s JavaScript file:
document.addEventListener('DOMContentLoaded', function() {
    var continueShoppingButton = document.querySelector('.continue-shopping');
    if (continueShoppingButton) {
        continueShoppingButton.addEventListener('click', function(event) {
            event.preventDefault();
            window.location.href = this.href;
        });
    }
});
This script ensures the button works seamlessly with other elements on the page. It captures the click event and redirects the user to the shop page.
By following these steps, you can add a Continue Shopping Button to your WooCommerce cart page. This improves the shopping experience and can potentially increase sales.
Test The Button
After adding a Continue Shopping button to your WooCommerce cart page, testing it is vital. This ensures the button works as expected for all users.
Check Functionality
First, check if the button actually functions. Click the Continue Shopping button to see if it directs you back to the shop page. Ensure it reloads correctly without any errors. If the button fails, check your code for mistakes.
You can use the following example:
Continue ShoppingThis code snippet ensures the button links to your shop page. Replace the URL if you want a different destination.
Cross-browser Testing
Test the button across different browsers. Browsers like Chrome, Firefox, Safari, and Edge may render elements differently.
Follow these steps:
- Open your WooCommerce cart page in each browser.
- Click the Continue Shopping button in each browser.
- Note any inconsistencies or issues.
Make sure the button looks the same and functions correctly in each browser. This ensures a smooth experience for all users.
| Browser | Test Result |
|---|---|
| Chrome | Pass |
| Firefox | Pass |
| Safari | Pass |
| Edge | Pass |
Ensure all users have the same experience, regardless of their browser choice. If issues arise, troubleshoot and adjust the code as needed.
Troubleshooting
Adding a “Continue Shopping” button to your WooCommerce cart page can enhance user experience. But sometimes, you may face issues during this process. Troubleshooting these problems is essential to ensure a smooth shopping experience for your customers.
Common Issues
Many users report issues such as the button not appearing on the cart page. Sometimes, the button might appear but not function correctly. Another common issue is compatibility with your theme or other plugins. These problems can be frustrating, but they are usually solvable with a bit of patience.
Debugging Tips
First, check if your theme supports custom buttons. Some themes may override WooCommerce settings. If this is the case, you might need to modify your theme’s code.
Next, deactivate other plugins one by one. Some plugins might conflict with WooCommerce. After deactivating each plugin, check if the button issue is resolved.
Another useful tip is to enable WordPress debugging mode. This mode can help you identify PHP errors that might be causing the issue. You can enable debugging by editing the wp-config.php file. Set define('WP_DEBUG', true); to see error messages.
Sometimes, updating WooCommerce and your theme can solve the problem. Ensure you are using the latest versions. If you are comfortable with the code, inspect the console for JavaScript errors. These errors can provide clues about what might be going wrong.
Frequently Asked Questions FOR Add Continue Shopping Button in Woocommerce Cart Page
How To Add A Continue Shopping Button In Woocommerce Cart?
To add a “Continue Shopping” button in WooCommerce cart, use custom code or plugins. Custom code is added in the functions. php file. Plugins offer a user-friendly way to add the button without coding.
Where To Place The Continue Shopping Button?
Place the “Continue Shopping” button prominently on the WooCommerce cart page. Typically, it’s placed near the “Proceed to Checkout” button. This ensures customers can easily find and use it.
Can I Customize The Button Text?
Yes, you can customize the button text using WooCommerce settings or custom code. This allows you to match your site’s branding and messaging.
Is A Plugin Needed For The Continue Shopping Button?
No, a plugin is not mandatory. You can add the “Continue Shopping” button using custom code. However, plugins offer a simpler, code-free solution.
Conclusion
Adding a “Continue Shopping” button on the WooCommerce cart page enhances the user experience. It encourages customers to explore more products. This simple addition can boost sales. Follow the steps provided to easily implement it. Your store will become more user-friendly.
Customers will appreciate the smooth shopping flow. Make these changes today and see the difference. Happy selling!

